
The Bizarre Journey Part 3: Journey To Dio guide
Set up your Part 3 lobby, assemble the wagon and travel across Egypt to Dio's Castle. Keep the horses fed, gather supplies along the road and finish the castle's two boss encounters.
Select Part 3, choose a difficulty and 1–4 players, then select Create Lobby. For a first run, choose Normal. Attach all four wagon wheels with Z, bring carrots to Feed Here until Horse Hunger reaches the initial 40% requirement, then press E at Ride. Follow the remaining-distance bar to Dio's Castle, defeat Cool Vampire, use Continue to DIO and defeat DIO. Collect the chest items before using Return to Lobby. Normal completion awards 2 Stand Arrows and 3 Clan Rolls.
Complete Journey To Dio
Your destination is Dio's Castle, reached by traveling along the desert road while collecting supplies and keeping the horses fed. Encounter entrances let you stop for battles along the way. At the castle, defeat Cool Vampire, continue into the inner hall and defeat DIO to finish the Journey.
Completing the Journey on Normal awards 2 Stand Arrows and 3 Clan Rolls.
Choose the part, difficulty and party
- Open Select A Part and select Part 3 (Journey To Dio).
- Choose Normal, Hard, Extreme or Impossible. Start with Normal, the beginner-friendly option.
- Select a party size of 1, 2, 3 or 4. Choose 1 for a solo Journey.
- Enable Friends Only if you want to restrict the lobby to friends, then select Create Lobby. You can also enable Friends Only with a one-player party.
Part 4 (Shining Diamond) and Part 6 (Made In Heaven) are locked and labeled Coming Soon.
Prepare the wagon and set off
- Follow the quest marker to an empty wagon and step into its glowing circle.
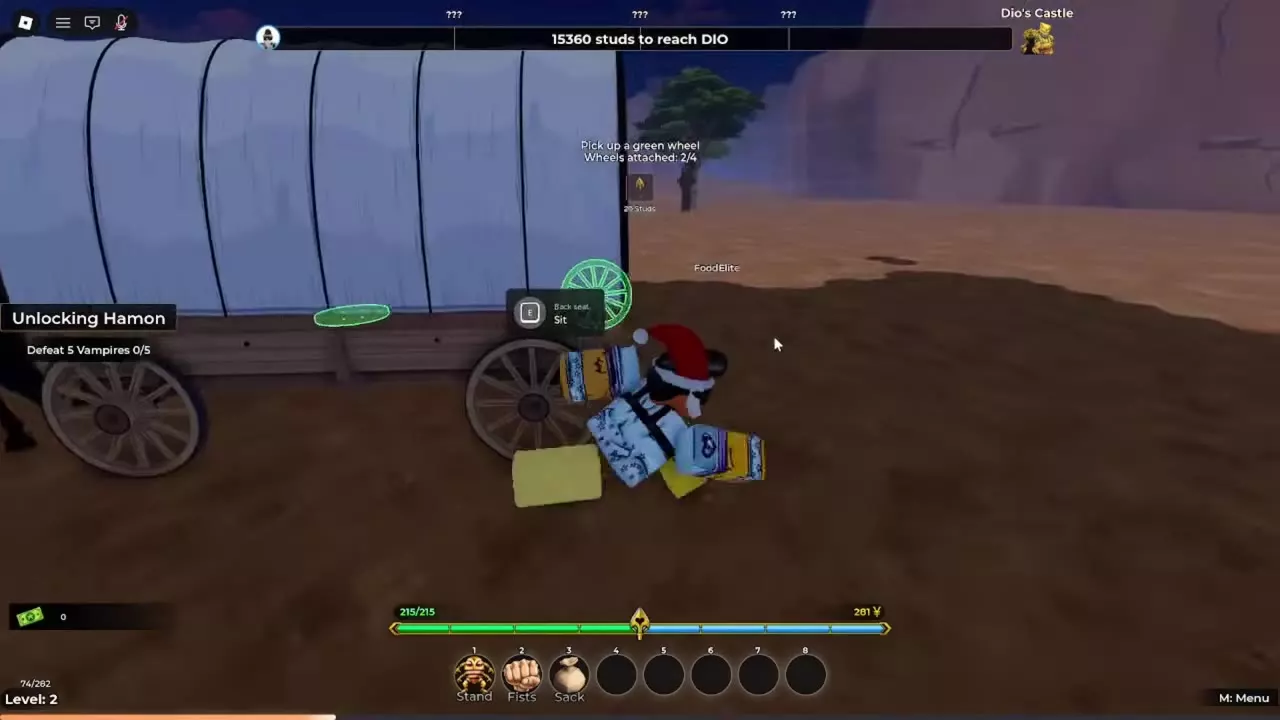
- Find a green outlined wheel and use Grab to pick it up. Carry it beside the wagon and press Z at Attach Wheel.
- Repeat until Wheels attached reaches 4/4. The departure guide then advances to feeding the horses.
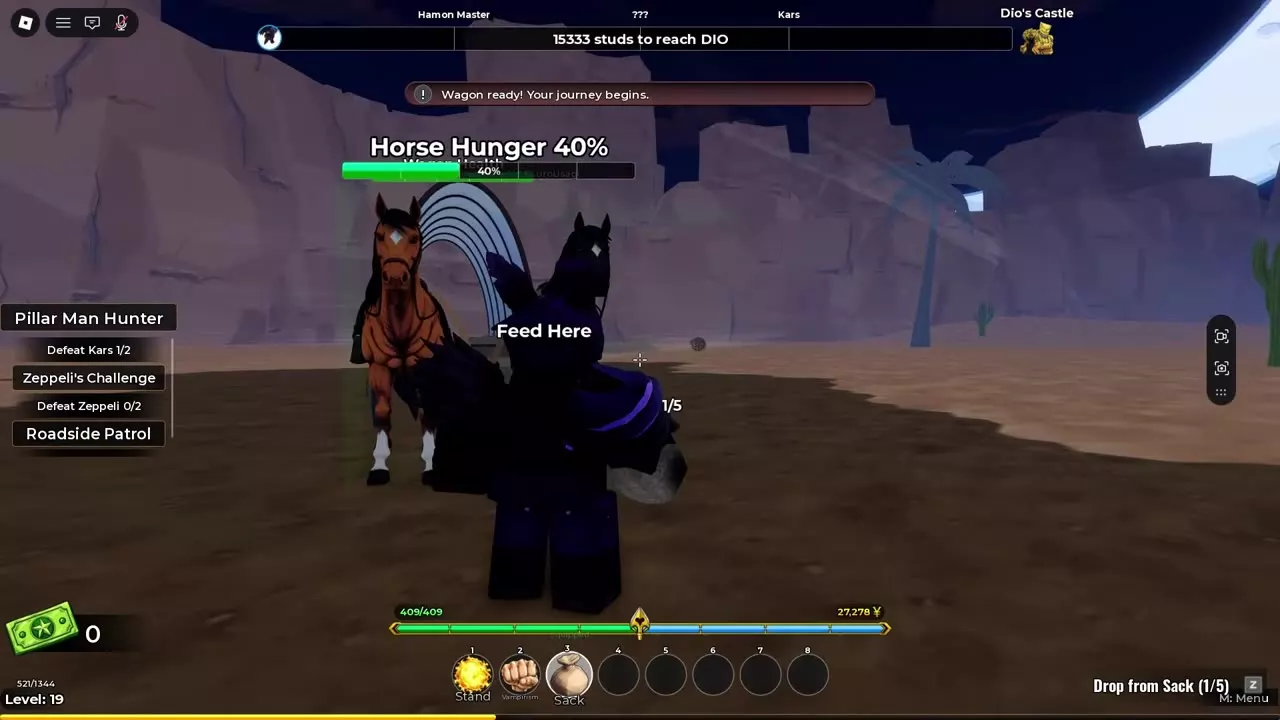
- Use Grab on a green outlined carrot near the horses. Carry it to Feed Here beside a horse.
- Feed the horses until Horse Hunger reaches 40% for the initial departure. The guide calls this 40 fuel, and the ready message reads Wagon ready! Your journey begins.
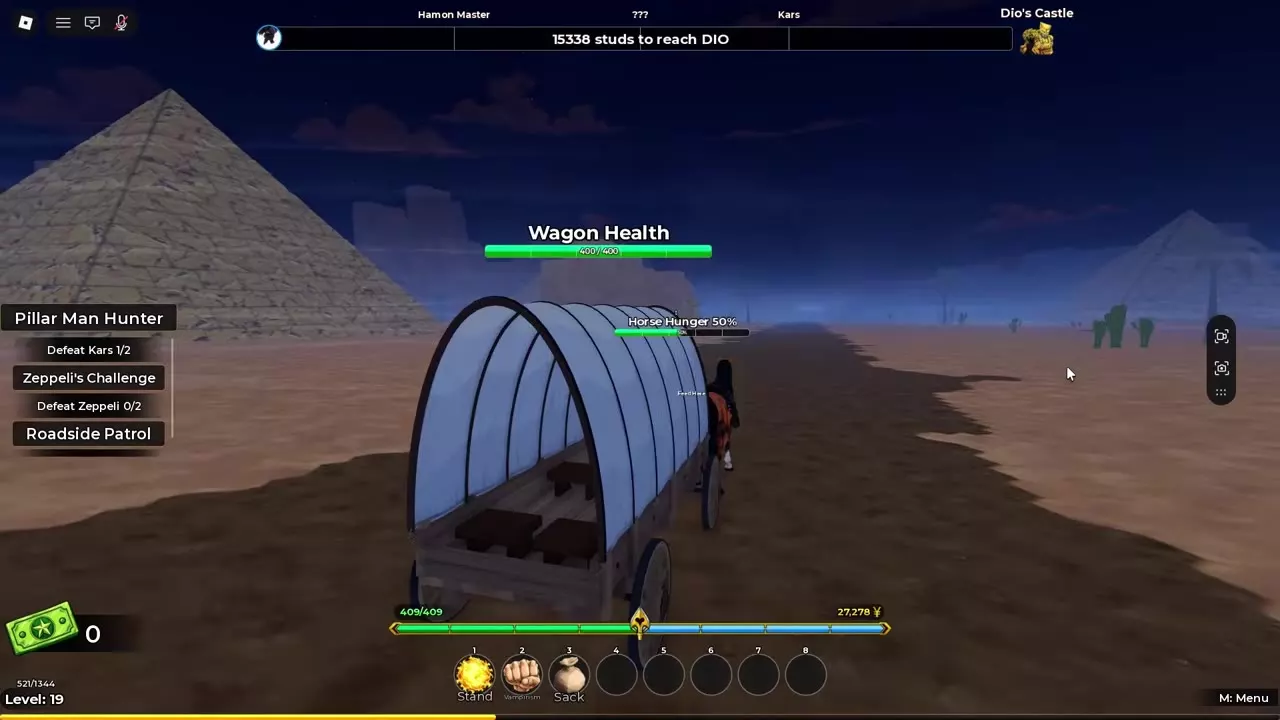
- Approach either Left horse - Wagon or Right horse - Wagon and press E at Ride. Ride along the road with the wagon following behind.
Watch both vehicle status bars during travel:
- Horse Hunger is the horses' reserve. Feeding raises its percentage, and traveling lowers it. Replenish it with carrots at Feed Here.
- Wagon Health tracks the covered wagon's durability, with a maximum of 400 HP. It is separate from Horse Hunger; feeding replenishes the horses' reserve rather than repairing the wagon.
For the full transport controls and wheel-repair task, see wagon setup and horse feeding.
Follow the road and enter encounters
Ride along the desert road and read the remaining distance to DIO in studs at the top of the screen. Use that counter to track progress toward the castle, and identify encounter entrances by their signs and glowing gathering areas.
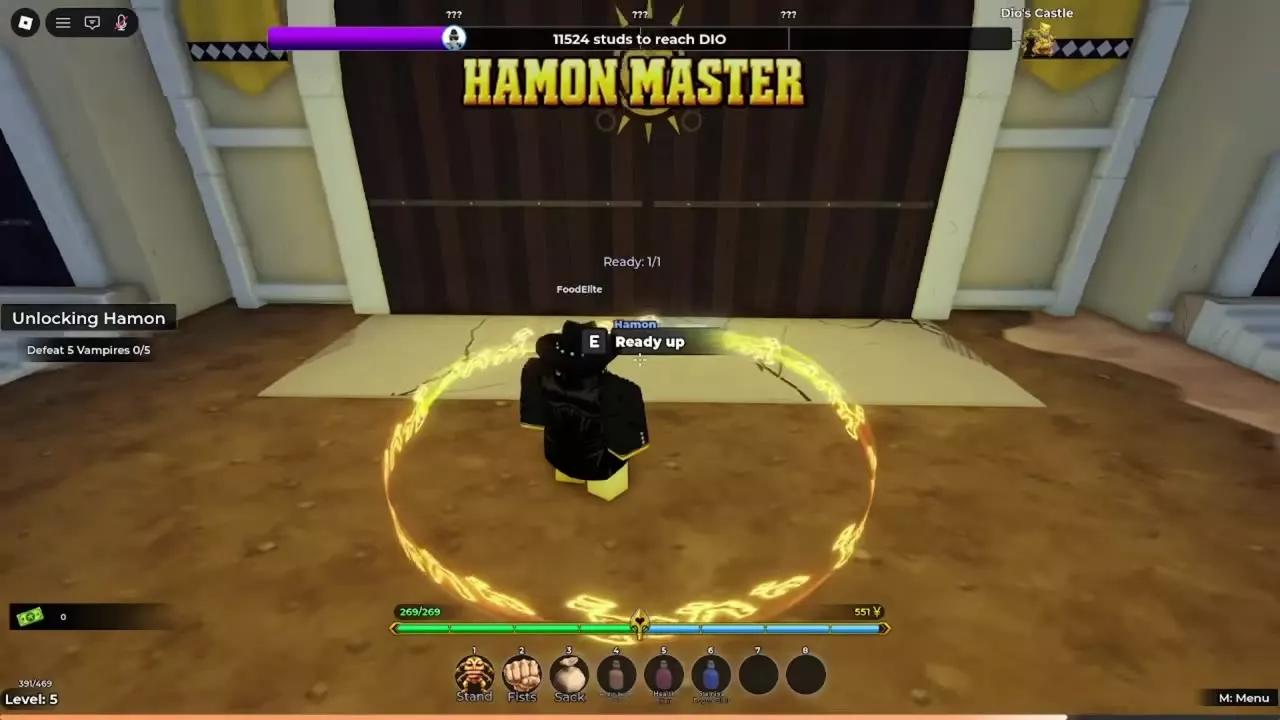
Hamon Master
Look for HAMON MASTER, the sun emblem and the golden ring at the door. Stand in the ring and press E at Ready up to enter Zeppeli's encounter. In a solo encounter, readying changes the counter from 0/1 to 1/1 before entry.
Kars checkpoint
Look for the building with purple-red effects and the title ULTIMATE LIFEFORM. Approach the door and press E at Kars's Ready up prompt.
Sheriff Office
Find the building marked SHERIFF and enter the glowing Prison Break gathering area. Press E at Ready up to enter the encounter. This challenge runs through five waves before Anasui; follow the Prison Break guide for the full battle sequence.
Supplies and growth along the road
Fight roadside enemies and explore buildings for supplies as you travel. At the Pillar Men Cave entrance, hold E at Enter Cave. Inside, fight the Pillar Men and use Open Chest, then Pick Up on the released items. Use Leave Cave at the interior entrance to return to the road.
Resume travel toward the castle after your stops, checking the distance counter and the horses' reserve.
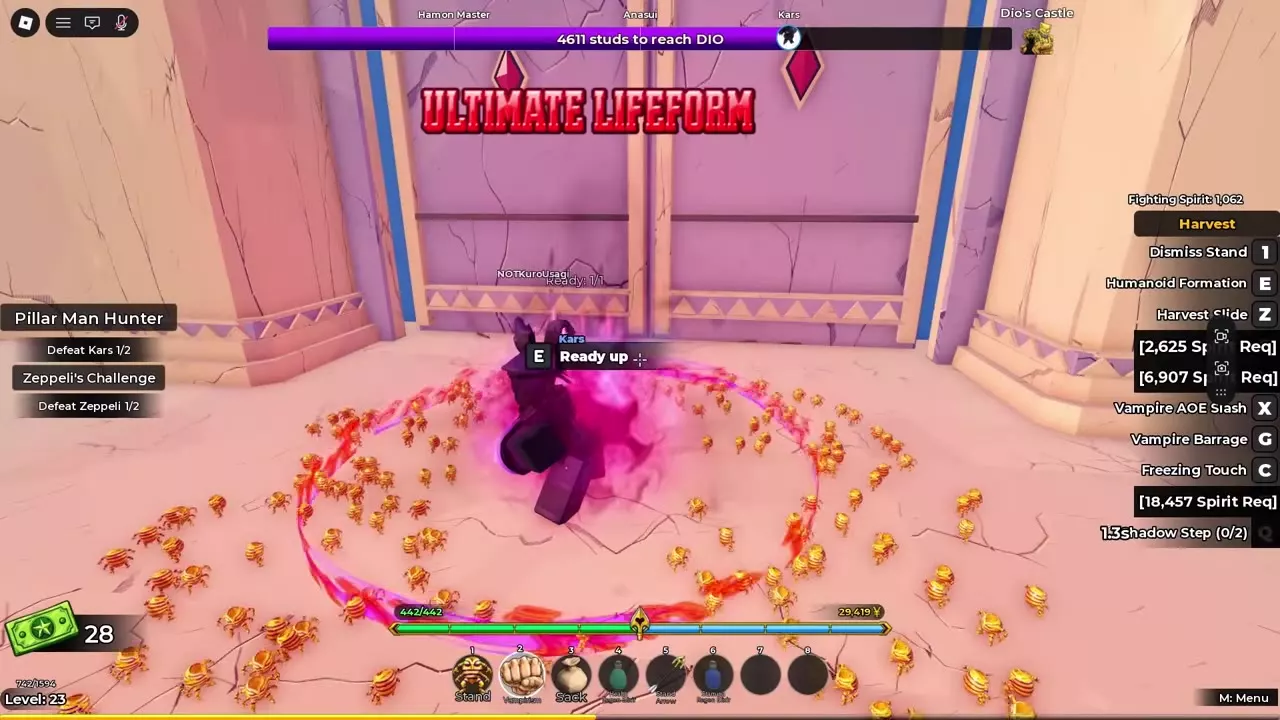
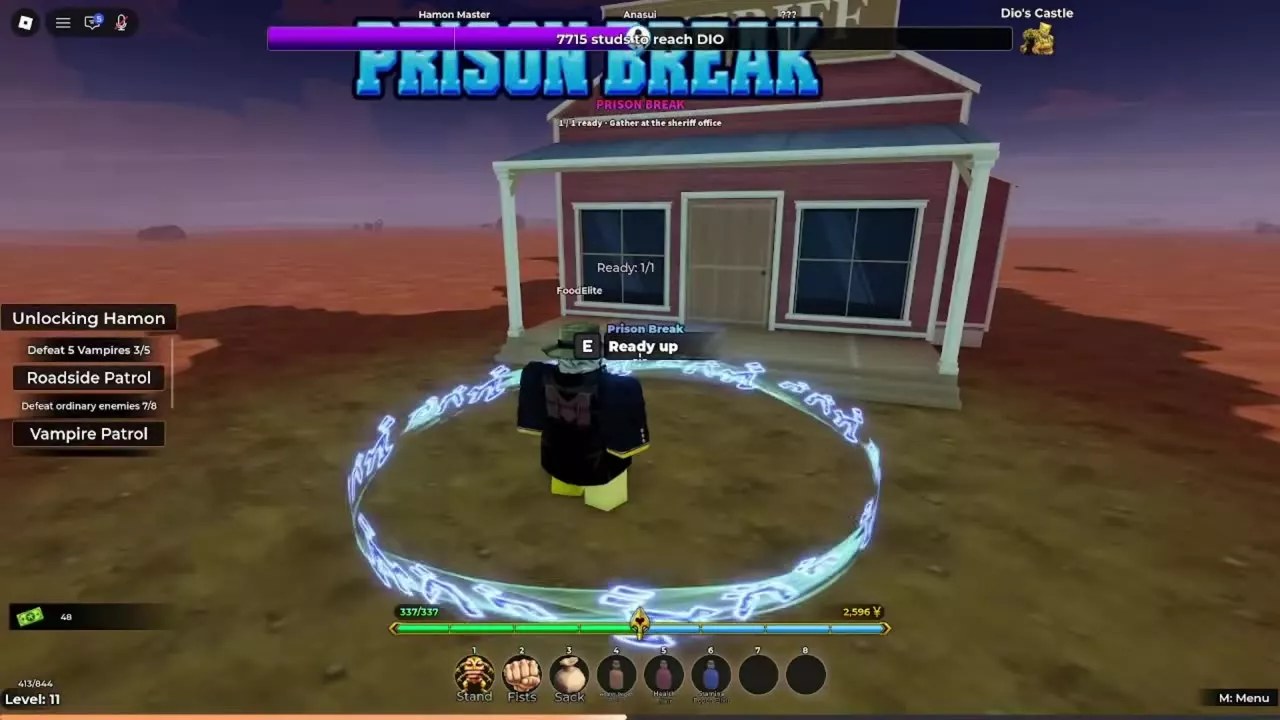
Finish the castle and return to the lobby
- Follow the road to Dio's Castle as the remaining-distance counter approaches zero. Stand in the purple entrance circle and press E at Ready up.
- Defeat Cool Vampire in the first hall. Close the distance to attack, recover after knockbacks or knockdowns and approach again. With the Vampire fighting style equipped, combine close-range attacks with Vampire AOE Slash (Z), Vampire Barrage (X), Freezing Touch (G) and Shadow Step (Q), watching cooldowns and Shadow Step charges.
- Open Cool Vampire's Boss Chest and collect its items. Go to the interaction point beside the stairs and press E at Continue to DIO.
- Follow the interior stairs into the next hall and approach its far end to reach DIO.
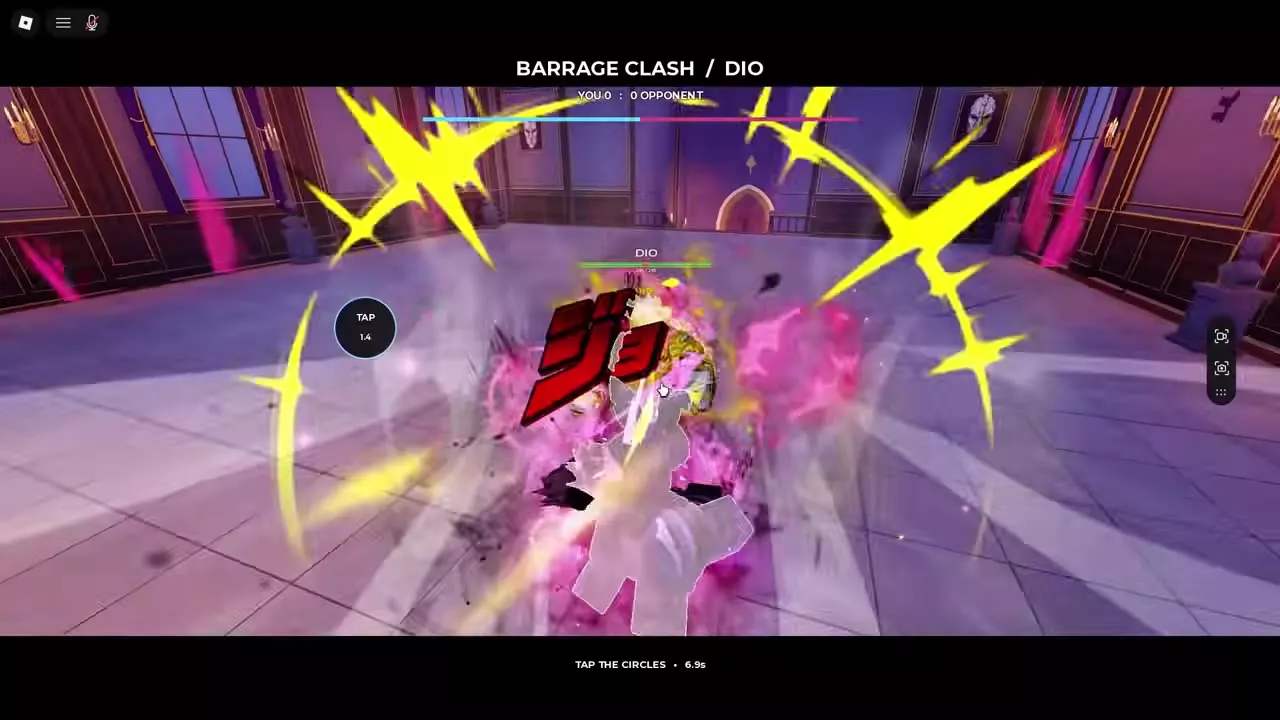
- During Barrage Clash, click the circles before the countdown expires. Resume close-range attacks when ordinary combat returns.
- After DIO's yellow road roller attack damages and knocks you down, recover, approach him again and continue attacking until his health reaches zero.
- Open the chests in the room. Approach the released items and press T at Pick Up to collect them individually, then use Return to Lobby.
The Cool Vampire and DIO castle guide covers the continuous fight sequence in more detail.
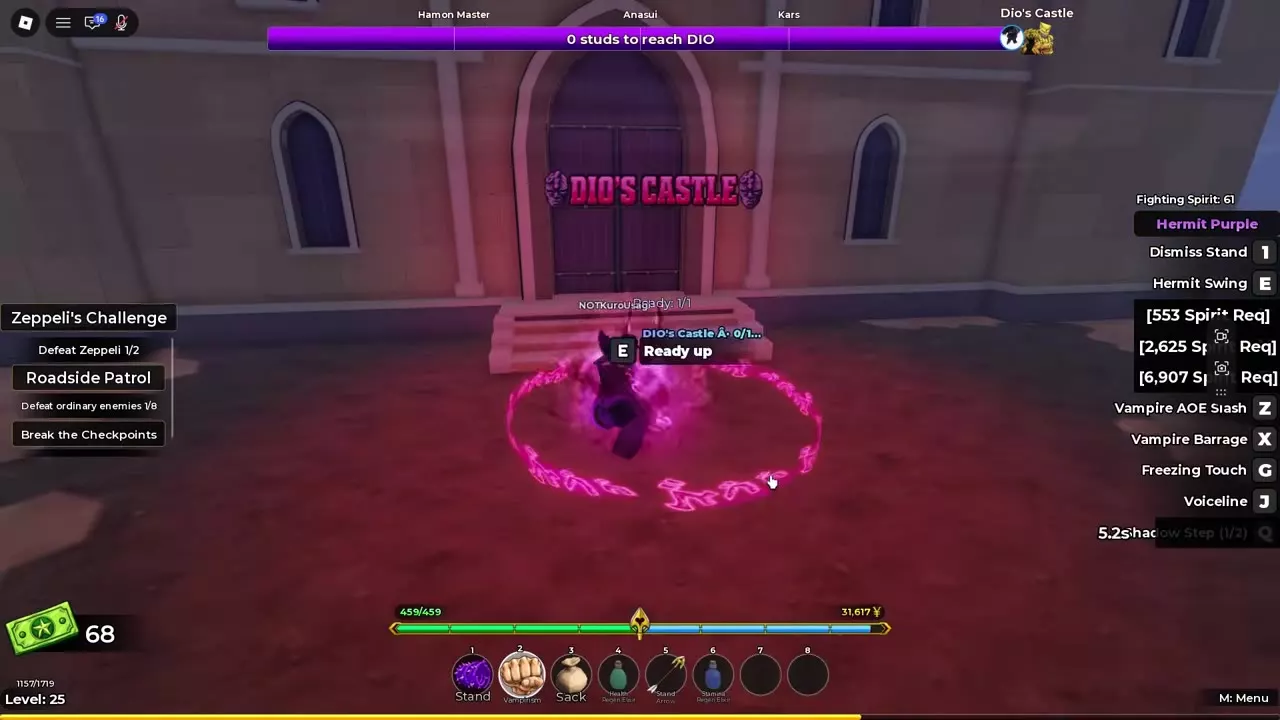
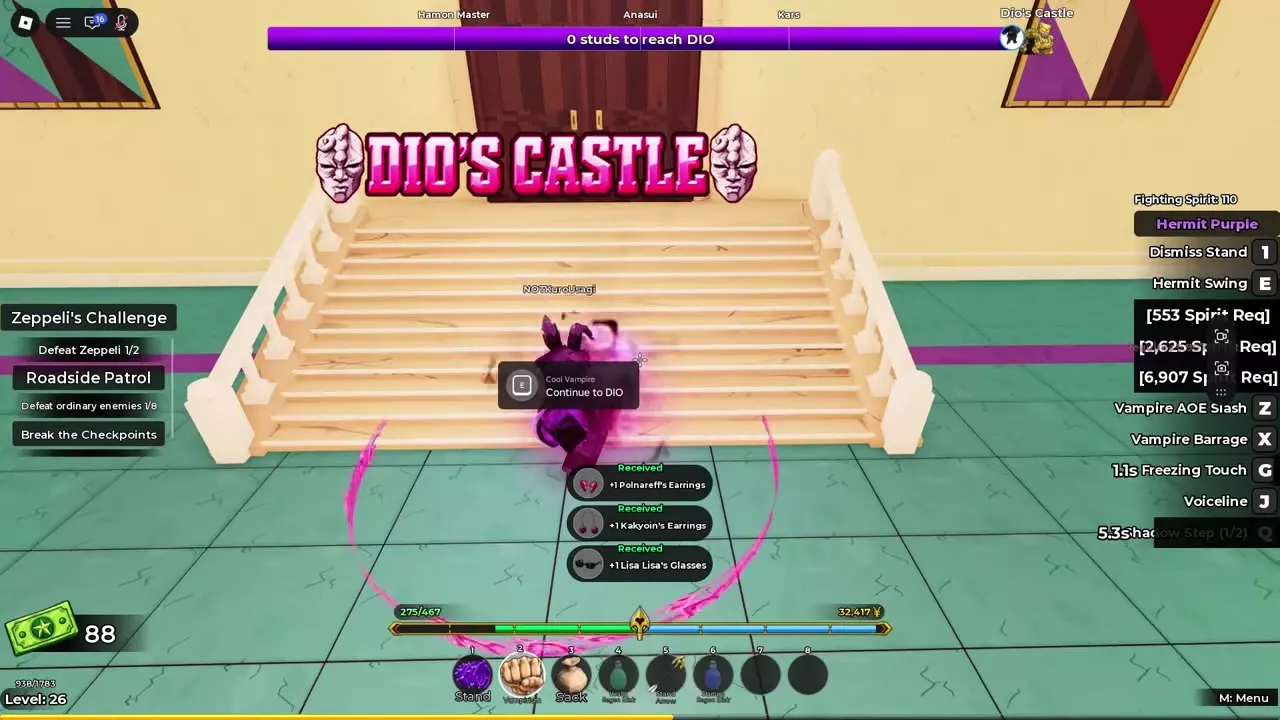
Rewards and Journey objectives
The 2 Stand Arrows and 3 Clan Rolls are the Normal Journey completion rewards. Rewards from active quests, direct boss drops and items collected from chests are separate. A reward unlocked after a boss fight is not automatically a guaranteed Journey completion reward.
If Your Next Checkpoint is active, help defeat the next checkpoint boss for its listed rewards of 1 Stand Arrow and 200 Yen.
For Journey Veteran, complete two Journeys while contributing along the way, at every checkpoint and against DIO. Participate throughout both runs rather than joining only for the final fight. Journey Veteran is labeled Extreme in the quest list.
See quests and Quest Board objectives for the other travel, enemy and boss objectives.
Encounter and travel details
- Wagon setup and horse feeding — transport controls, status bars and wheel repairs.
- Locations and encounter entrances — roadside landmarks and interaction points.
- Bosses and rewards — encounter choices and boss reward details.
- Prison Break and Anasui — all five waves and the concluding boss fight.
- Cool Vampire and DIO — the castle's complete combat sequence.
- Quests and Quest Board objectives — objectives, target counts and rewards.