
The Bizarre Journey Prison Break guide
Prison Break is a Journey encounter at the Sheriff office. Fight through five enemy waves, then face Anasui before collecting the room's rewards.
Enter the glowing area outside SHERIFF and press E — Ready up. Defeat every enemy in all five waves; your health restores to full after each clear. Finish the post-wave dialogue, defeat Anasui, then wait for PRISON BREAK COMPLETE and use Open Chest to collect the rewards before continuing your Journey.
Clear five waves and defeat Anasui
Prison Break has two combat stages: five enemy waves, followed by Anasui. Clearing Wave 5 starts his challenge rather than completing the encounter.
Your health restores to full after each wave, including the fifth. Survive the current group, defeat all remaining enemies, and use the break to prepare for the next fight. Completion comes when Anasui's health reaches zero.
Enter at the Sheriff office
- Reach the building marked SHERIFF during your Journey.
- Step into the glowing Prison Break gathering area outside.
- Press E — Ready up. For a solo entry, the ready count reaches 1/1.
- Watch Anasui's opening dialogue or select Skip. The encounter moves into an indoor battle room, where the first wave begins after a countdown.
Prepare your combat setup
Harvest with Vampire combines Harvest's close-range swarm with an area attack and additional melee skills. Equip both for this approach.
- Harvest: E — Humanoid Formation; Z — Harvest Slide at 623 Fighting Spirit; R — Swarm Rush at 2,625 Fighting Spirit.
- Vampire with Harvest: X — Vampire AOE Slash; G — Vampire Barrage; C — Freezing Touch; Q — Shadow Step.
The two Harvest requirements unlock separate skills. They are Fighting Spirit thresholds, not character levels or Hamon Mastery requirements. Use the unlocked skills in your current setup.
Hamon is an alternative if you have unlocked it. Its attack and charge keys change when you summon a Stand:
| Hamon ability | No Stand summoned | Stand summoned |
|---|---|---|
| Sunlight Yellow Overdrive | E | X |
| Zoom Punch | R | G |
| Hamon Charge | Z | C |
With Hamon equipped without a summoned Stand, Q is Dash and Enter is Hamon Sprint. Select Hamon or Harvest through the hotbar and read the updated ability labels after switching.
Clear the enemy waves
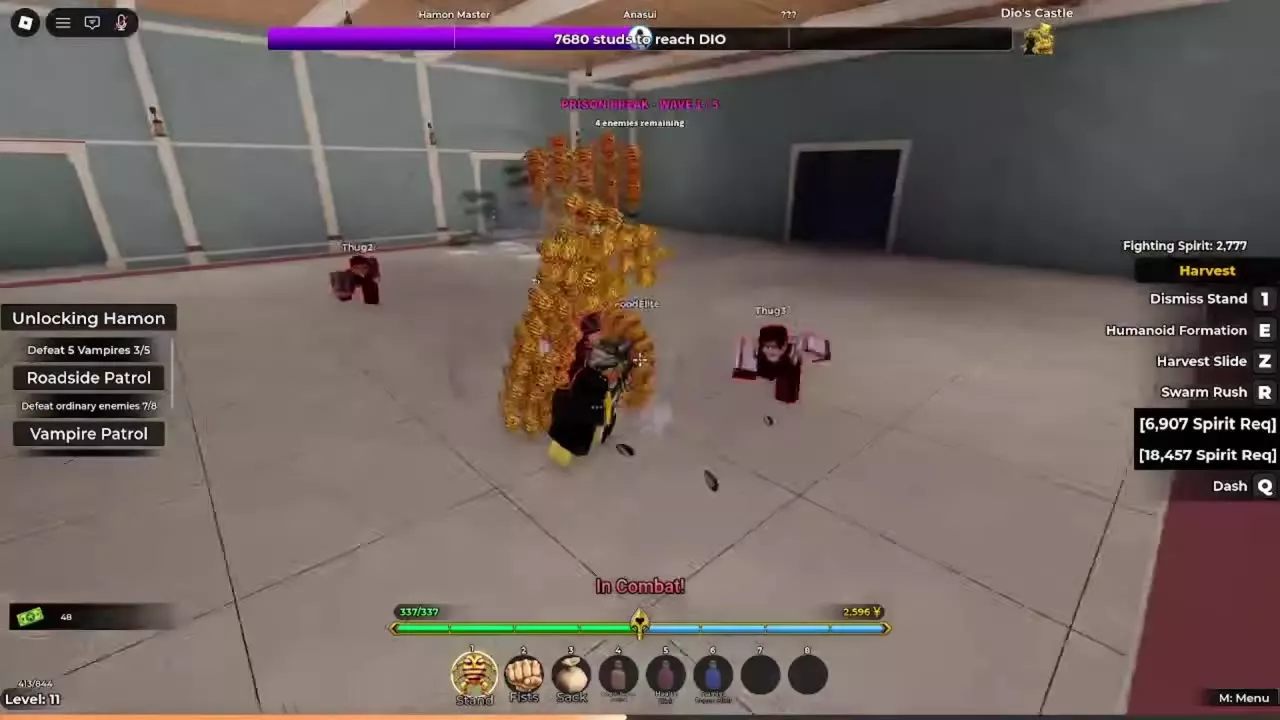
Wait for the incoming-enemy countdown, then fight the enemies entering the room. Read Wave …/5 and the remaining-enemy counter to track progress. Use the incoming count for your current wave and keep fighting until no enemies remain.
| Stage | Enemy types |
|---|---|
| Wave 1 | Thugs |
| Wave 2 | Thugs, Vampires |
| Later waves | Vampires, Hamon Users, Pillar Men Weak |
Harvest with Vampire
Use Humanoid Formation to fight at close range and bring Harvest's units around nearby targets. Add Vampire AOE Slash when enemies gather together so the area attack covers the group. Work Vampire Barrage and Freezing Touch into close combat as their cooldowns finish.
Keep moving through the exchanges rather than staying surrounded while skills recharge. Finish the remaining enemies before expecting the wave to advance.
Hamon with a Harvest switch
Attack groups with Sunlight Yellow Overdrive and Zoom Punch, then move away when pressure builds. Return to attack range as your skills become available.
Switch to Harvest when you want its swarm attacks. One fifth-wave approach uses Hamon first, then switches to Harvest to finish the group. Summoning Harvest changes Hamon's attack and charge bindings to X, G and C, leaving E, Z and R for Harvest's unlocked skills.
Recover and advance active quests
After the wave-clear message, let the health restoration finish and prepare for the next countdown. Following Wave 5, the recovery leads into Anasui's dialogue and boss challenge.
Prison Break enemies also count toward matching active quests:
- Ordinary Vampires: advance Unlocking Hamon and Vampire Patrol when those objectives are active together.
- Hamon Users: advance Hamon Challengers.
Unlocking Hamon requires five Vampire defeats. If you enter with progress already accumulated, the remaining defeats inside Prison Break complete that objective. Unlocking Hamon at the start of Wave 3 is one such outcome; the unlock follows the quest's defeat total rather than a wave number.
A Quest Complete panel lists that task's EXP, Yen and item payout. Those payouts belong to the completed quest and are separate from Prison Break's completion rewards.
Defeat Anasui
Finish the dialogue after Wave 5. Anasui challenges you to prove that you are ready to face DIO, and his boss health bar appears.
Harvest with Vampire
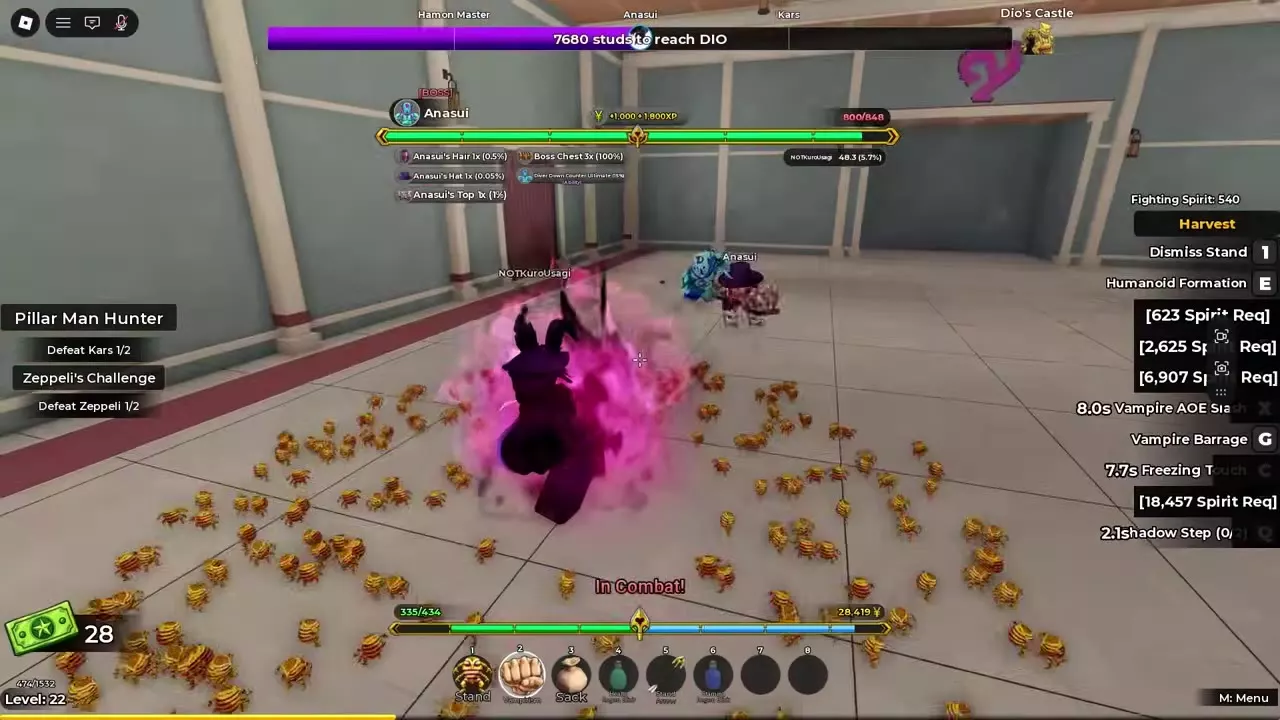
This setup provides a successful route through the fight: keep Harvest attacking Anasui at close range and mix Vampire skills into the exchanges.
- Approach Anasui and use E — Humanoid Formation. Keep attacking while Harvest's units gather around him.
- Use X — Vampire AOE Slash, G — Vampire Barrage and C — Freezing Touch as they become available. Continue attacking between cooldowns.
- Use Q — Shadow Step to reposition. It holds two charges, which recover over time; watch the charge counter before relying on another use.
- Once Harvest Slide is unlocked, press Z to ride the gathered units in a low sliding movement. If Swarm Rush is unlocked, add R between cooldowns while keeping the swarm on Anasui.
- Continue until his health reaches zero and PRISON BREAK COMPLETE appears.
Hamon and Harvest
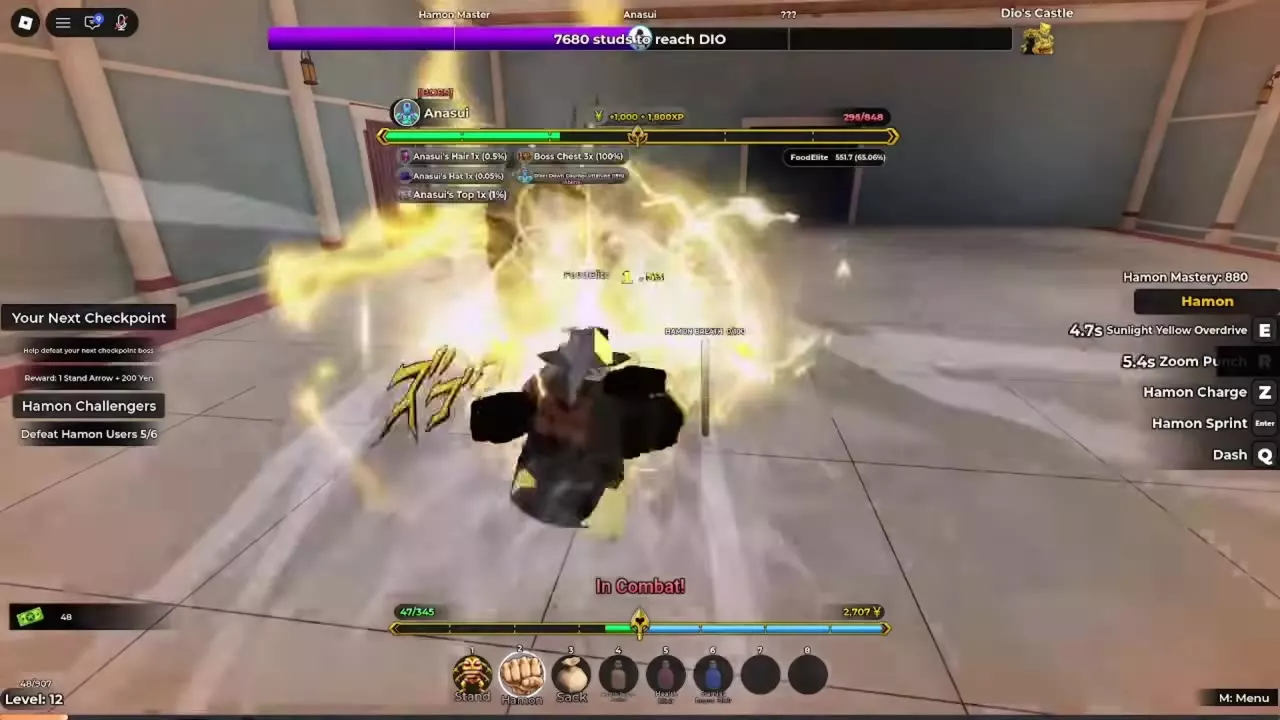
With Hamon active and no Stand summoned, attack with E — Sunlight Yellow Overdrive and R — Zoom Punch; Z is Hamon Charge. After taking hits, pull away, then approach again to resume attacking.
Select Harvest to add its swarm and unlocked skills. With the Stand summoned, use the alternate Hamon bindings from the preparation table. Keep moving around the arena between exchanges rather than trading hits continuously. Use the retreat windows to break off when Anasui pressures you.
If you are defeated
The death screen offers Return To Menu and Revive Yourself. The Anasui defeat example displays a 2:00 self-revival timer. Choose your continuation while that option is available.
Collect the completion rewards
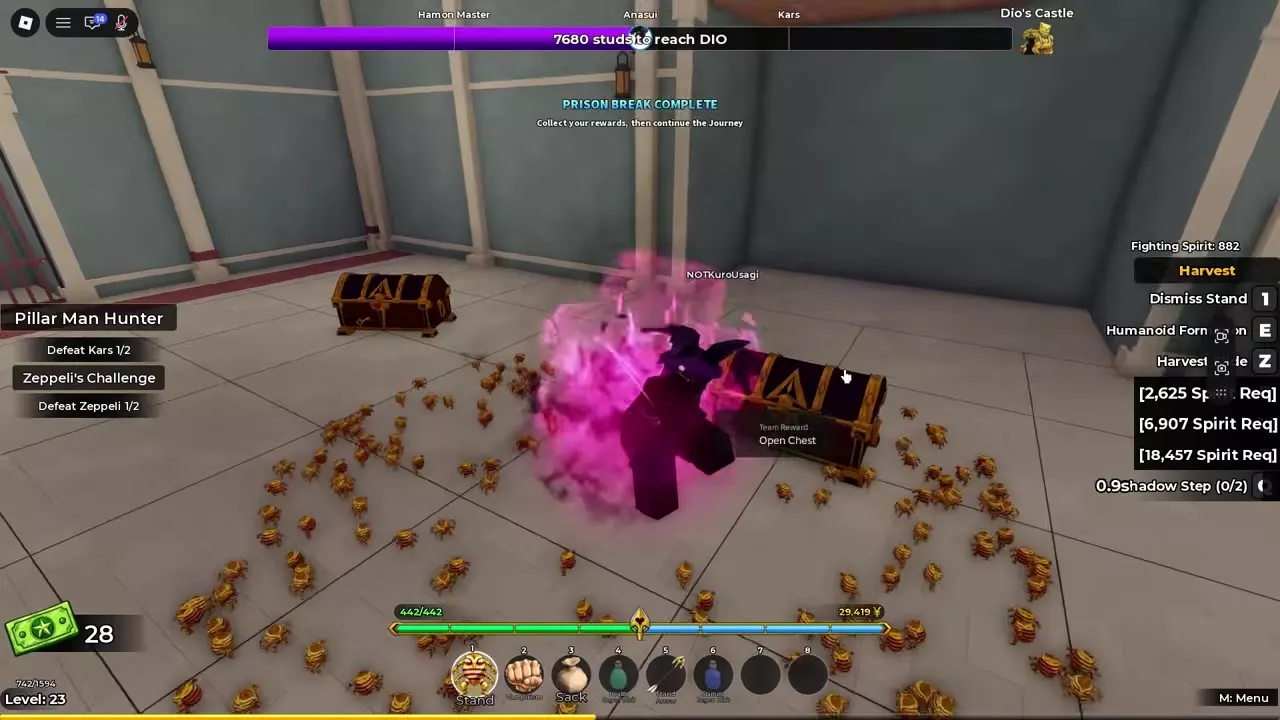
- After defeating Anasui, wait for PRISON BREAK COMPLETE and the reward-preparation message.
- Approach the reward chests in the room.
- Use Open Chest, then pick up the contents before continuing your Journey.
One completed run awarded 1 Stand Arrow after the completion message. Anasui also has a guaranteed Boss Chest drop and exclusive equipment drops; see Anasui's full drop table for their quantities and probabilities.
Boss drops and the onward Journey
- Bosses and rewards — compare encounter entry points and boss rewards.
- Quests and Quest Board objectives — find enemy-defeat targets and their rewards.
- Combat controls and Stand switching — check hotbar switching, ability bindings and movement controls.
- Stand and fighting-style combinations — choose a setup for groups, bosses or movement.
- Part 3 Journey To Dio guide — continue traveling, manage supplies and finish the castle.