The Bizarre Journey Wiki

LAST UPDATED

The Bizarre Journey is a Roblox adventure game where you cross Egypt in a horse-drawn wagon, develop your Stand and challenge enemies on the road to DIO's castle. Find codes, Stand and fighting-style guides, wagon advice, crafting details and walkthroughs for quests, Prison Break and boss encounters.

GenreSurvival
Visits1M+
Favorites8K+
CreatorBizarre Journey
Released2026-09-14
Updated2026-11-14
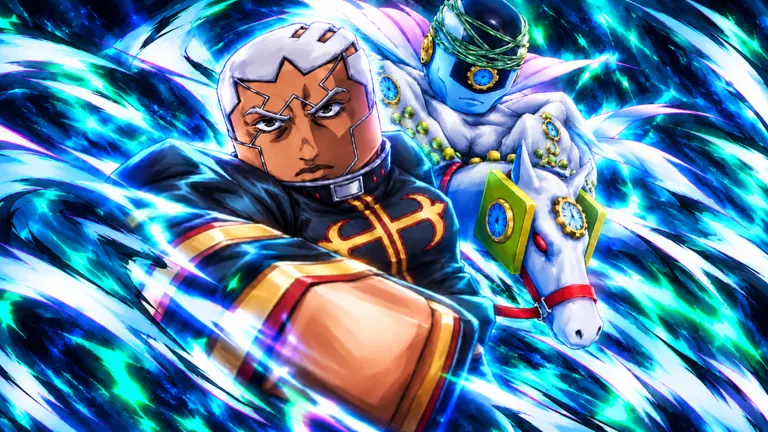
The Bizarre Journey official artwork GAMEPLAY

Beginner Route

3 STEPSFull guide →
1

Follow Getting Started

Speak to Joseph, then follow Start a Journey after your initial Stand awakening.

2

Create your first lobby

Choose Part 3 (Journey To Dio), Normal and a team size of 1–4. Enable Friends Only for a friends-only lobby, then select Create Lobby.

3

Prepare the wagon and leave

Follow the marker to an empty wagon. Grab wheels and press Z — Attach Wheel until all four are installed. Bring carrots to Feed Here until Horse Hunger reaches the initial 40% requirement, then press E — Ride at a wagon horse to begin collecting supplies and challenging enemies along the road.

Harvest Skill Progression

Character EXP raises your level, Fighting Spirit unlocks Stand skills, and Hamon Mastery tracks Hamon's growth through combat.

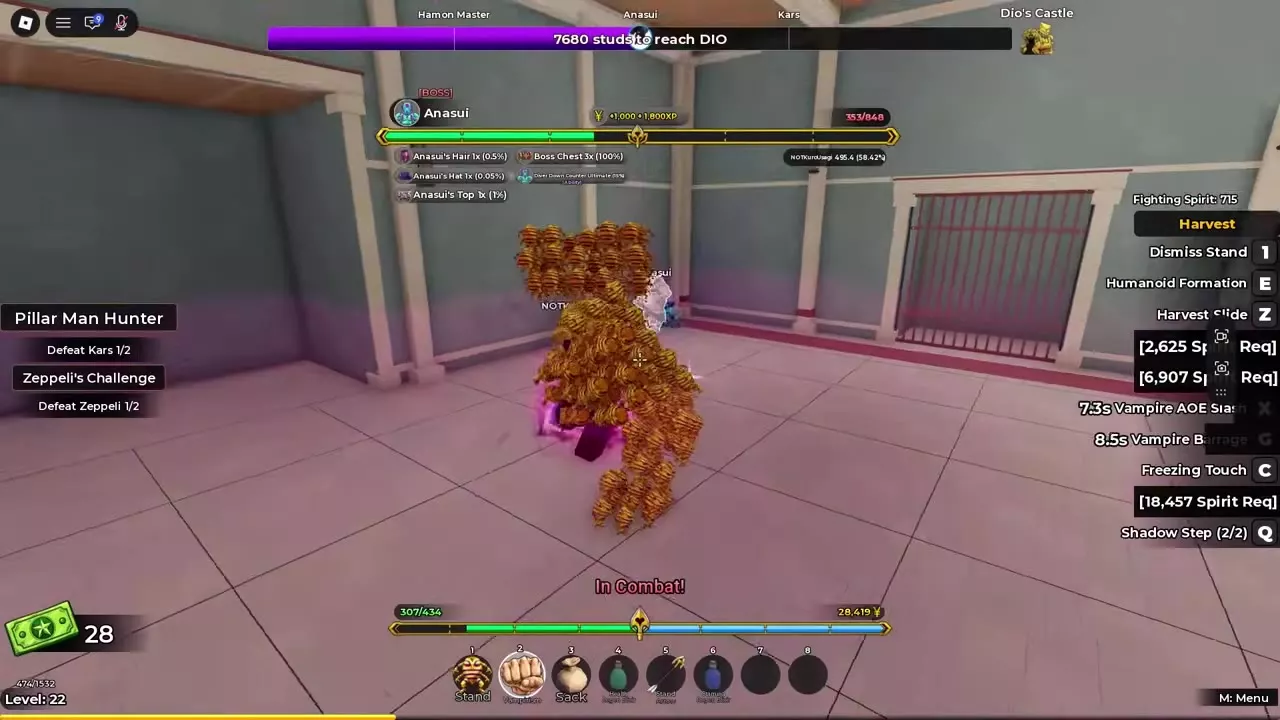
With Harvest equipped, fight to increase Fighting Spirit and reach the two skill thresholds below. Each requirement unlocks its named skill; the thresholds are separate and are not added together or treated as character levels. After unlocking Harvest Slide, use it to reposition on the gathered units; it enters cooldown after use.

Explore Stand abilities for other skill paths or progression resources for their uses.

NameFighting Spirit requiredSkill key
Harvest Slide
623 Fighting Spirit
Z
Swarm Rush
2,625 Fighting Spirit
R
More details
StatValue
Harvest Slide · Fighting Spirit required
623 Fighting Spirit (Harvest equipped; Harvest Slide)
Harvest Slide · Skill key
Z (Harvest Slide unlocked) Harvest units gather beneath the character and carry them in a low sliding movement. The skill enters cooldown after use.
Swarm Rush · Fighting Spirit required
2,625 Fighting Spirit (Harvest equipped; Swarm Rush)
Swarm Rush · Skill key
R (Swarm Rush unlocked) Used during Vampire and Anasui combat, with a cooldown indicator after activation.

Codes

12 ACTIVEAll 22 codes
1MVISITSActive
UPDATE2Active
400CCUExpired
THELUCKYARROWExpired

Wiki Reference

Quick Data

Boss Accessories and Clothing
Summary figures only. Bars compare rows in this table.

Stands and abilities

Star Platinum's awakening starts with landed attacks: fill its awakening meter, then press G at full meter to activate Star Platinum: The World and create a time-stop opening.

Other Stands offer different actions:

  • The Sun: press E for Sun or Sun Burn.
  • Magician's Red: press E for Barrage.
  • Super Fly: enter its tower and climb the internal ladder.

The Sun and Magician's Red both use 1 to dismiss the Stand.

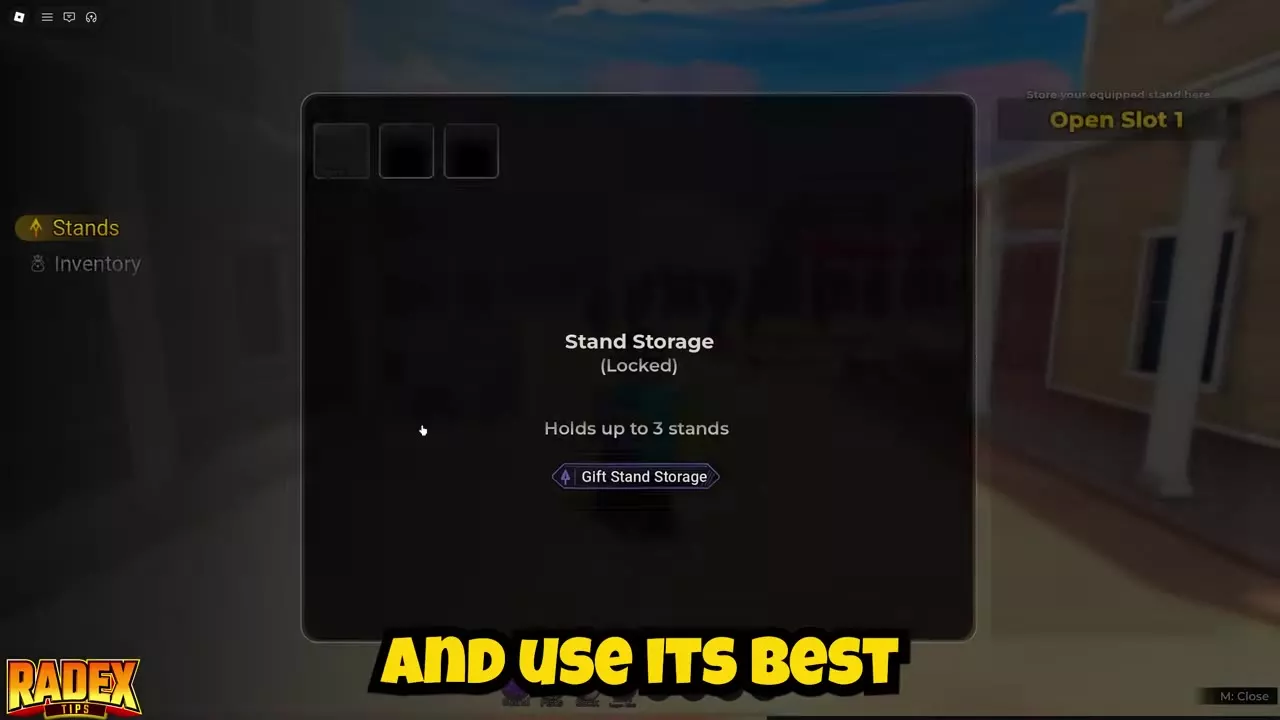
Locked Stand Storage with three slots, Gift Stand Storage and Open Slot 1.

Stand Arrows, storage and Star Platinum skins

Use a Stand Arrow for a random Stand result, including a chance at Star Platinum. Defeating Jotaro (Part 6) awards one Stand Arrow at a 100% drop rate.

Open Menu > Stands to find Stand Storage, which holds up to three Stands. Locked storage requires the Stand Storage Unlock pass, priced at 299 Robux.

For Star Platinum skins, unlock the Stand first, then use a Shiny Arrow for a random skin result.

Stands Fighting Spirit requirementDismiss Stand key
Magician's Red 811 Fighting Spirit1
Harvest 623 Fighting Spirit1
Hermit Purple 553 Fighting Spirit1
Super Fly 485 Fighting Spirit1
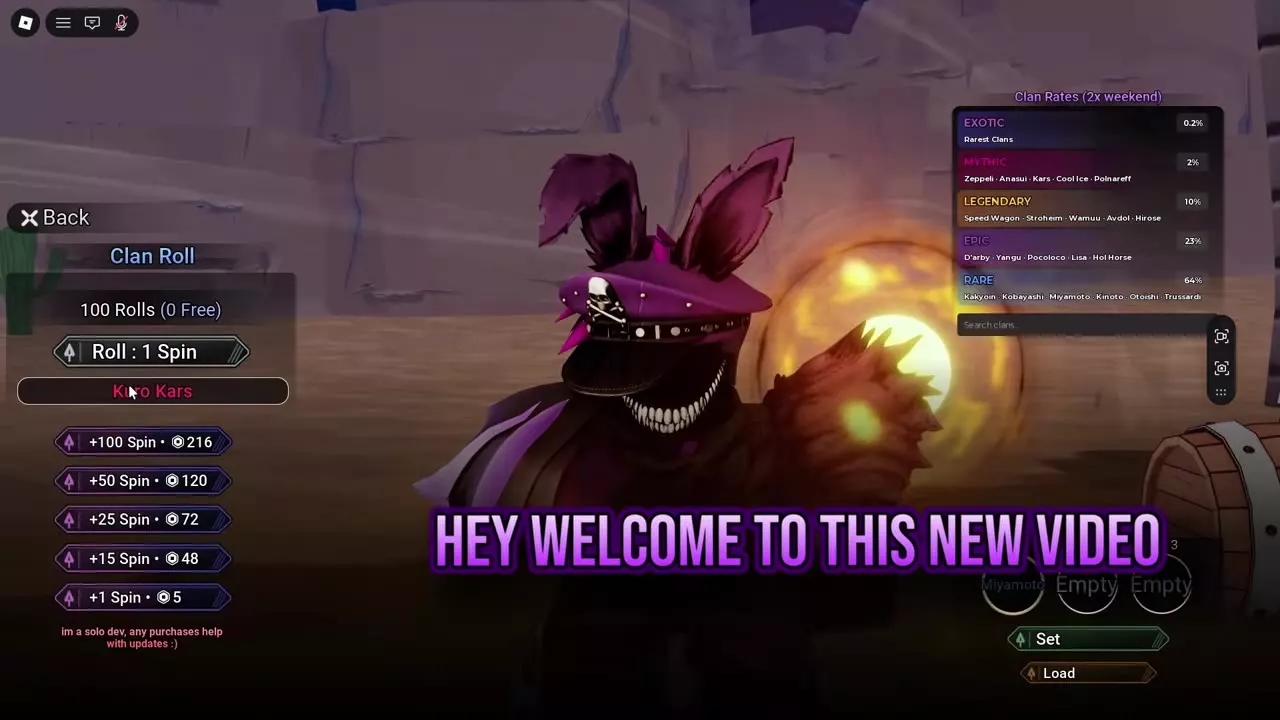
Clan Roll screen with the roll button, Spin bundles and weekend rarity rates

Clans, rolls and weekend rates

Each Roll: 1 Spin consumes one Spin. Claim daily login rewards for Clan Rerolls, or buy Spins in Clan Roll. The 100-Spin bundle costs 216 Robux, equivalent to 2.16 Robux per Spin.

With 2x weekend active, the displayed rarity-tier chances include Exotic at 0.2% and Mythic at 2%. These percentages already apply to the weekend setting; do not double them again. They describe rarity tiers, not individual clan chances or combat strength.

Stand Combinations

All pages →↑ Browse
Harvest's gathered units attack Anasui with Vampire skills available in the combat panel.

Stand and fighting-style combinations

Combat goal Setup What it provides
Close-range combos Star Platinum Launchers, a defense-breaking grab and knockback finishers
Pressure on clustered enemies Harvest + Vampire A nearby swarm alongside Vampire's area slash and melee attacks
Alternate attack options Harvest + Hamon Swarm combat alongside Overdrive, Zoom Punch and Hamon Charge
Aerial movement with melee Hermit Purple + Vampire Hermit Swing for movement and Vampire attacks for close combat

Equip the Stand and fighting style required for your chosen setup. For a Hamon pairing, complete Unlocking Hamon by defeating five Vampires while that objective is active.

With a Stand summoned, Hamon's Overdrive, Zoom Punch and Charge move to X, G and C. Vampire's attack keys also depend on the equipped Stand, so read the current ability labels after switching.

Accessories Drop chanceDrop quantity
Dio's Cape 16 %1 item
Cool Vampire's Hair 15 %1 item
Anasui's Top 1 %1 item
Kars' Hair 0.83 %1 item
Kars' Wings 0.83 %1 item
Items & Materials Drop chance
Stand Arrow 100 %
Void Devour 15 %
Road Roller 15 %
Gyro's Cape Schematic 0.8 %
Spin Ball 0.6 %

Craft Pucci's Jacket and Gyro's Cape

Learn the matching Schematic to permanently unlock a recipe, then bring its materials and Yen to the Crafting station beside the Doctor's office in the lobby.

Clothing Materials Yen required
Pucci's Jacket 1 Disk, 1 Normal Dio Set, 3 Stand Arrow Necklaces 500,000 Yen
Gyro's Cape 1 Spin Ball 350,000 Yen

Any chest has a 0.2% chance to award a Disk and a 0.6% chance to award a Spin Ball. The station menu shows your remaining material requirements.

Since the November 14, 2026 crafting update, both clothing items are obtained exclusively through crafting. They no longer drop or appear at the Merchant; previously owned copies remain yours.

Shops & Passes Price
Skip Clan Roll Animation 89 Robux
Clan Storage 99 Robux
Stand Starter Bundle 119 Robux
Starter Pack 1 119 Robux
Stand Storage Unlock 299 Robux

Modes & Activities

All pages →↑ Browse

Modes and activities

Choose Infinite for equipment schematics and wave milestones. Waves 10, 25 and 50 each have a first-clear bonus. Every Infinite wave also has a 0.3% chance to award Pucci's Jacket Schematic and a 0.8% chance to award Gyro's Cape Schematic.

Choose Battlegrounds for arena combat and Stand Arrow Fragment loot. Fragments are materials for crafting Stand Arrows.

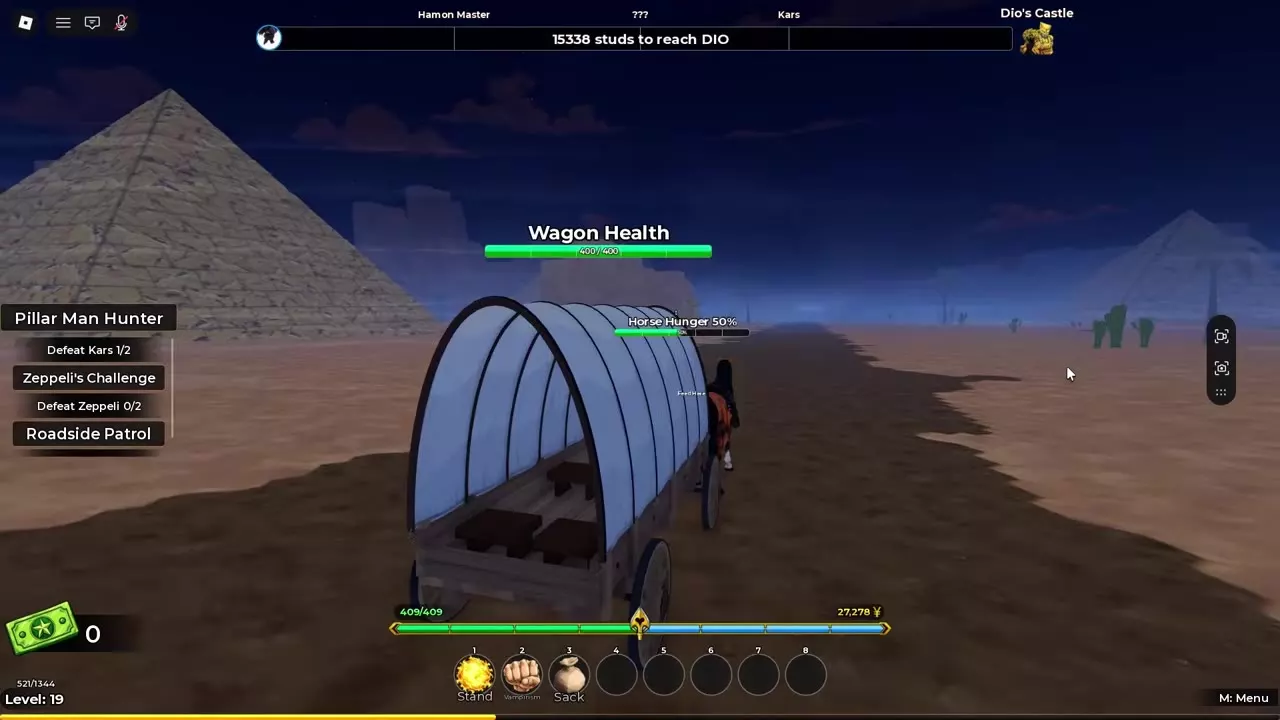
Wagon traveling along the desert road with separate health and hunger bars.

Part 3 Journey To Dio guide

Follow the desert road and track the remaining distance to DIO in studs at the top of the screen. Watch Horse Hunger and Wagon Health separately, replenishing the horses' reserve as you travel. At encounter entrances, use the local E — Ready up prompt.

Completing Part 3 on Normal awards two Stand Arrows and three Clan Rolls. Part 4 (Shining Diamond) and Part 6 (Made In Heaven) remain locked and labeled Coming Soon.

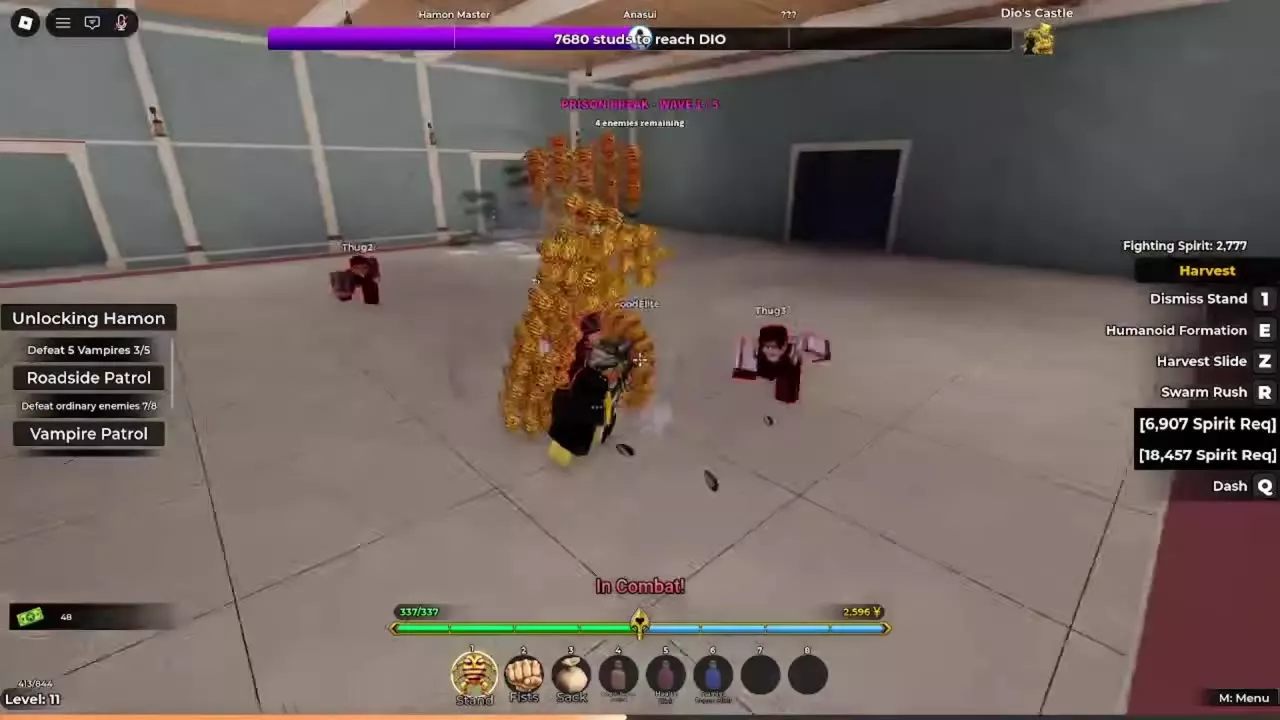
Harvest fighting Thugs during Wave 1 with the remaining-enemy counter above the arena.

Prison Break waves and Anasui guide

At the building marked SHERIFF, enter the glowing gathering area and press E — Ready up.

  • Defeat every remaining enemy in each of the five waves.
  • Your health returns to full between waves, including after Wave 5.
  • Finish the post-wave dialogue and defeat Anasui to complete the encounter.
  • Use Open Chest, then pick up the released items before continuing.

Matching active quests also progress during combat. Their Quest Complete payouts are separate from wave clears and Prison Break completion rewards.

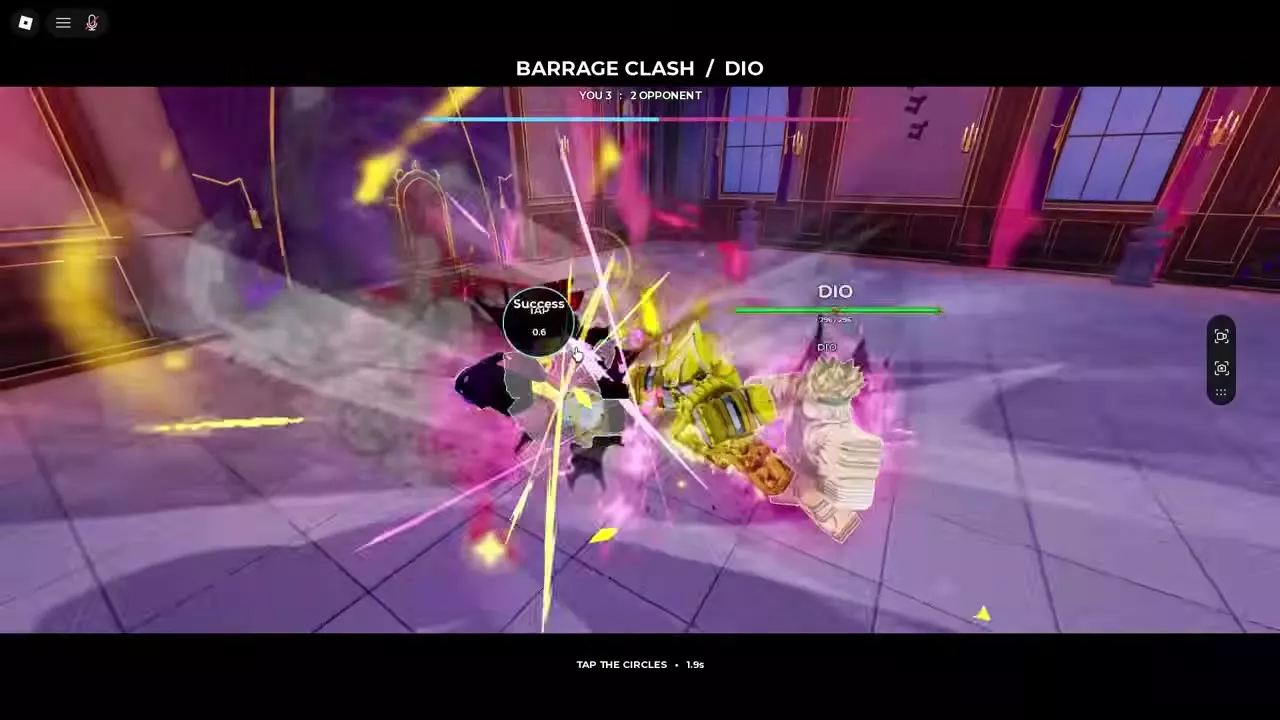
Barrage Clash against DIO with a circle target, scores and countdown.

Dio's Castle: Cool Vampire and DIO guide

Defeat Cool Vampire first, collect his chest contents, then press E — Continue to DIO beside the stairs.

During Barrage Clash, click the circles before the countdown ends. A clash victory knocks DIO back; close the distance and resume attacking. His yellow road roller attack deals damage and knocks you down, so recover afterward and approach again.

DIO's drop pool includes The World at 0.1% and Road Roller at 15%. After victory, open the reward chests and collect each ground item before using Return to Lobby.

Bosses Boss Chest quantityBoss Chest drop chanceXP reward
DIO 3 chest100 %2,400 XP
Zeppeli 1 chest100 %1,000 XP
Kars 1 chest100 %1,200 XP
Jotaro (Part 6) 1 chest100 %—
Anasui 1 chest100 %—
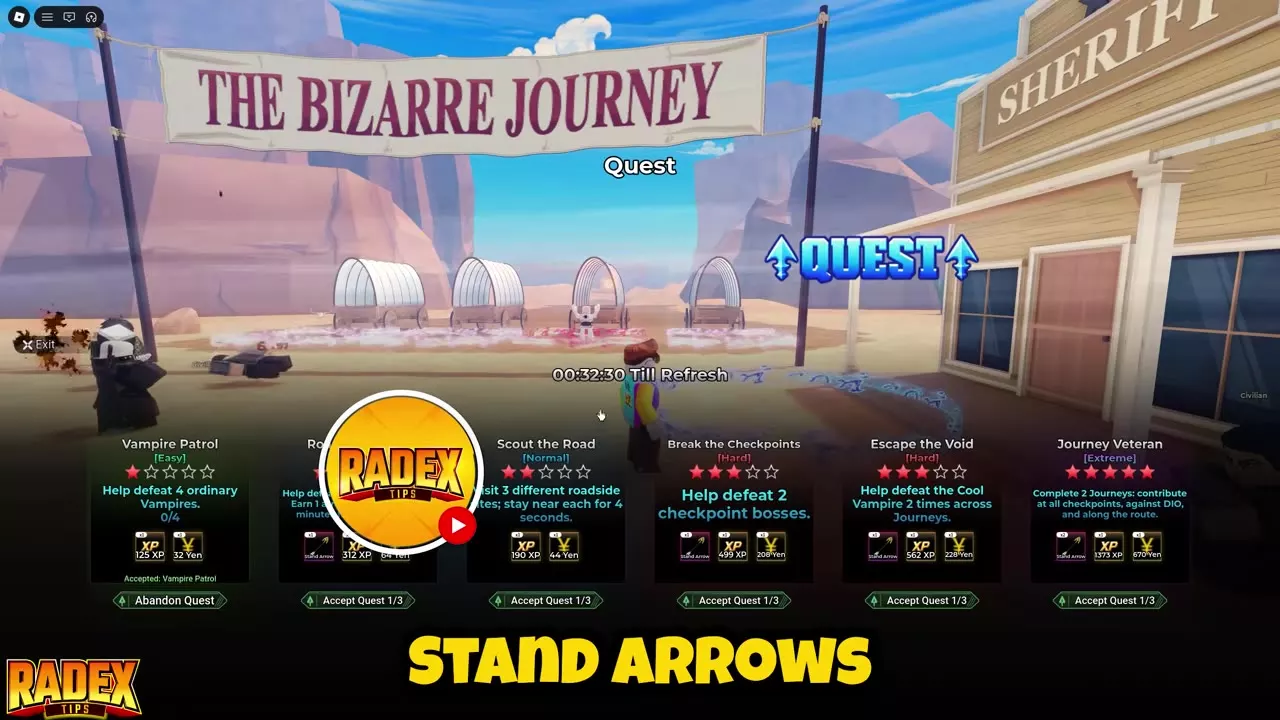
Quest list with Vampire Patrol accepted and an Abandon Quest button

Quests and Quest Board objectives

Open the Quest list and select Accept Quest to hold up to three quests. Accepted objectives appear in the left-side tracker; use Abandon Quest to drop one.

When Vampire Patrol and Unlocking Hamon are both active, ordinary Vampire defeats advance both counters. Patrol requires four qualifying defeats and rewards 125 XP and 32 Yen; Unlocking Hamon requires five and grants Hamon.

For travel objectives, match the full condition:

  • Scout the Road: visit three different roadside locations, staying at each for four seconds.
  • Journey Veteran: complete two Journeys, contributing along the route, at every checkpoint and against DIO.
Quests Target
Roadside Patrol 8 Vampires
Hamon Challengers 6 Vampires
Unlocking Hamon 5 Vampires
Vampire Patrol 4 Vampires
Scout the Road 3 Vampires
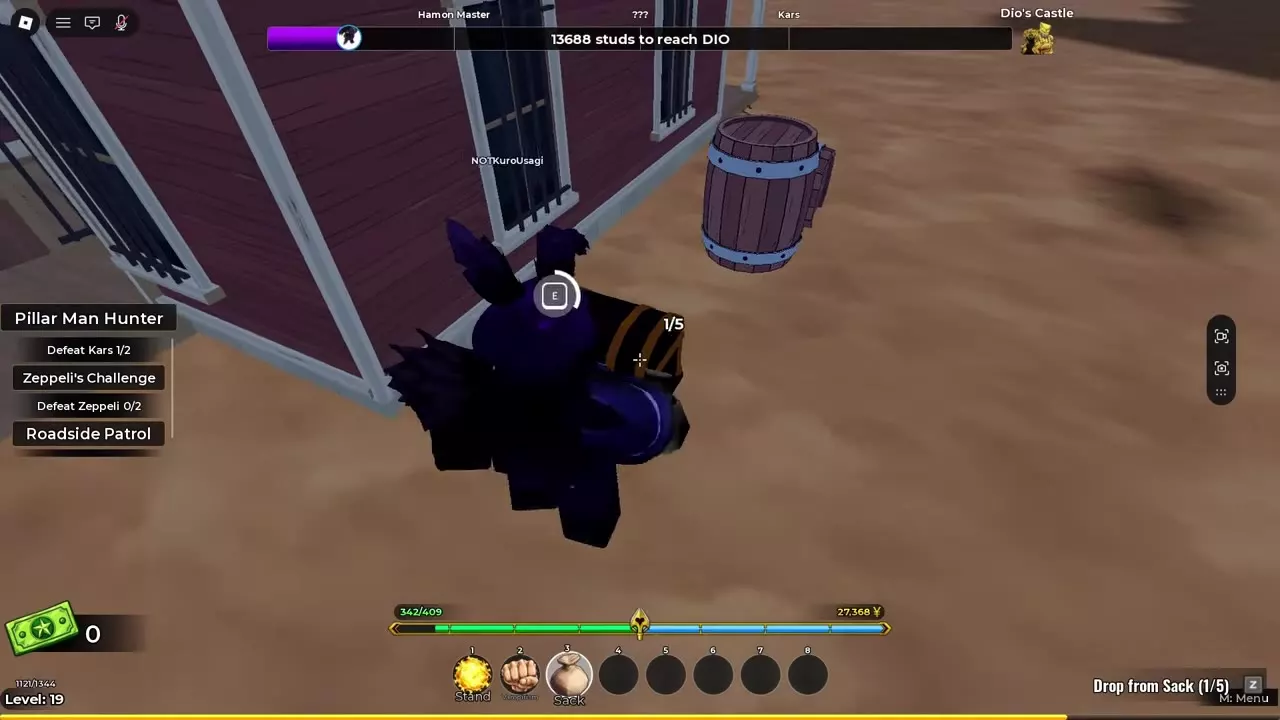
Opening an outdoor chest with one occupied Sack slot

Chests, Golden Cache Keys and the Sack

If an outdoor chest requests a Golden Cache Key, carry the key and use Store to put it in your five-slot Sack before returning to open the chest. Opening that locked chest consumes the stored key.

Opening and collecting are separate actions. After Open Chest, approach each released item and use its Pick Up prompt. Follow the displayed key: cave pickups use E, while the DIO reward area's pickups use T.