
The Bizarre Journey combat controls and Stand switching
Select your Stand or fighting style from the hotbar, then use the active ability list to control attacks and movement. The same key changes function with your combat setup.
Select Hamon or your Stand in the hotbar and read the updated skill labels. Hamon uses E/R/Z on its own and X/G/C with a Stand summoned; Vampire attack keys depend on the Stand combination. Q activates the listed Dash or Shadow Step, and 1 dismisses a Stand when labeled Dismiss Stand. Watch skill cooldowns and Shadow Step's two rechargeable charges. After death, choose Return To Menu or use Revive Yourself during its 2:00 countdown.
Active abilities and combat movement
Read the active ability list before attacking. It identifies each available action, its key and any cooldown countdown after use.
| Action | Control |
|---|---|
| Select a combat option | Hotbar |
| Use an active ability | Listed skill key |
| Dash or Shadow Step | Q |
| Dismiss Stand | 1, when labeled |
Approach until your attack reaches the enemy, use an available attack, then move away from incoming attacks while your skills recover. Return to range when you have an attack ready. Q activates the movement ability named in your current list: Dash and Shadow Step are different actions.
Press 1 when the list labels it Dismiss Stand to dismiss your summoned Stand.
Star Platinum's basic M1 combo has a knockback ending that pushes the target away and a launcher ending that sends the target into the air.
Stand and fighting-style keybinds
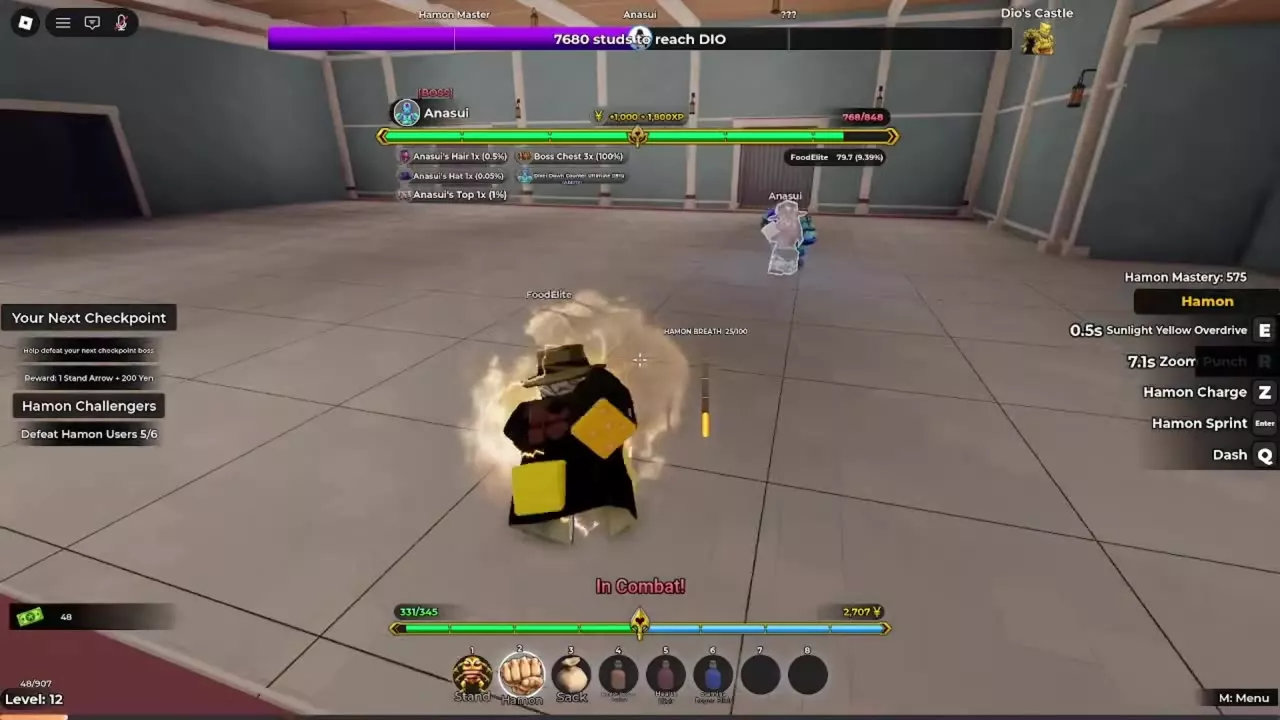
Hamon
Unlock Hamon and select it from the hotbar. Its three attack and charge bindings change when a Stand is summoned.
| Ability | No Stand summoned | Stand summoned |
|---|---|---|
| Sunlight Yellow Overdrive | E | X |
| Zoom Punch | R | G |
| Hamon Charge | Z | C |
With Hamon selected and no Stand summoned, press Enter for Hamon Sprint and Q for Dash. Using Hamon in combat increases its separate Hamon Mastery counter.
Harvest
| Ability | Key | Unlock requirement |
|---|---|---|
| Humanoid Formation | E | — |
| Harvest Slide | Z | 623 Fighting Spirit |
| Swarm Rush | R | 2,625 Fighting Spirit |
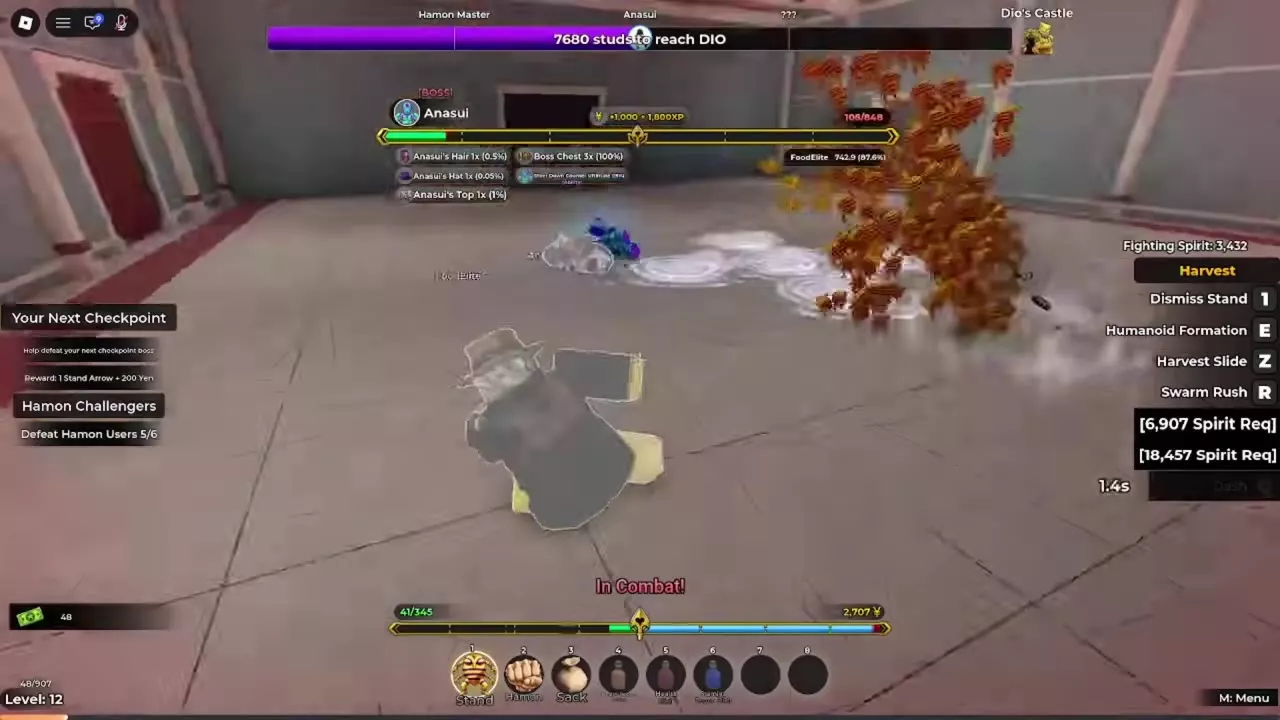
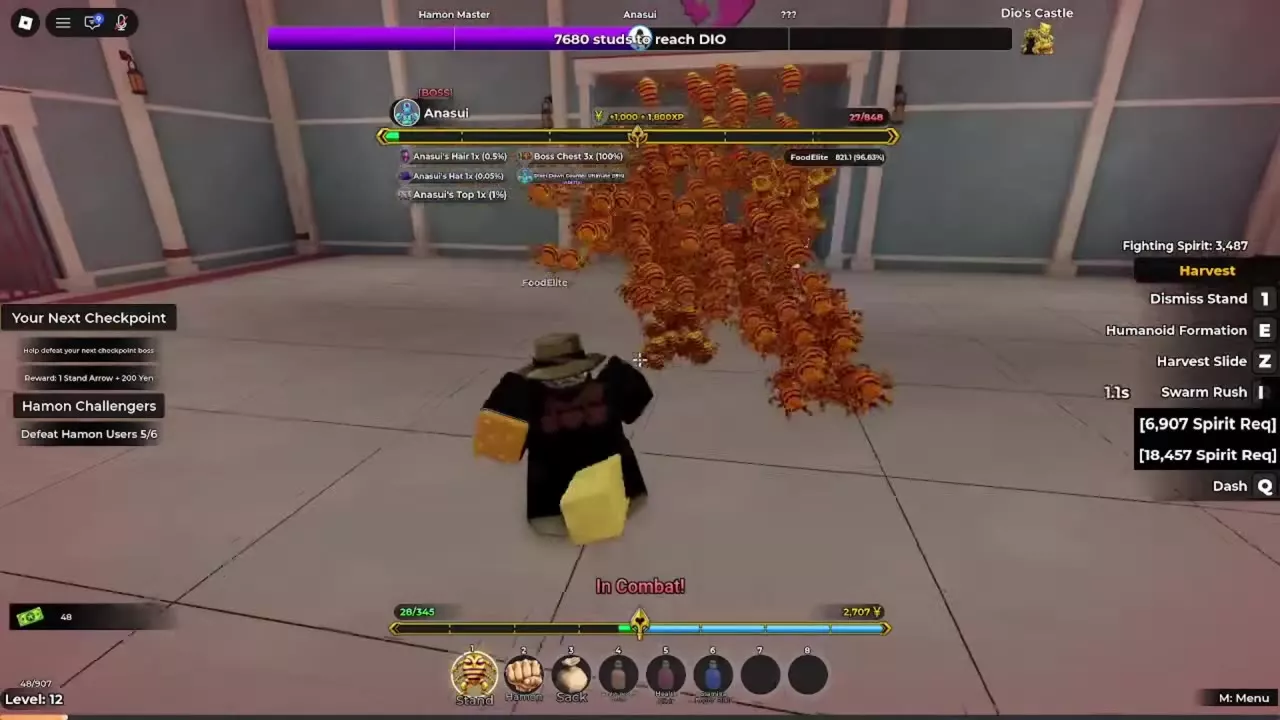
Harvest Slide carries your character in a low sliding movement on gathered Harvest units. Each Fighting Spirit requirement unlocks its own skill; these are separate thresholds, not costs to add together. With Hamon and Harvest equipped together, Harvest retains its E/Z/R actions and Hamon uses X/G/C.
Vampire combinations
Have Vampire equipped alongside the Stand named in the table. Its attack bindings change between combinations.
| Ability | The Sun + Vampire | Harvest + Vampire | Hermit Purple + Vampire |
|---|---|---|---|
| Vampire AOE / AOE Slash | Z | X | Z |
| Vampire Barrage | T | G | X |
| Freezing Touch | R | C | G |
| Shadow Step | Q | Q | Q |
| Stand ability | Sun: E | Humanoid Formation: E | Hermit Swing: E |
| Dismiss Stand | 1 | 1 | 1 |
The Sun combination labels its area attack Vampire AOE. The Harvest and Hermit Purple combinations label it Vampire AOE Slash.
Harvest also keeps Harvest Slide on Z once unlocked. Hermit Purple has Voiceline on J. Use the keys for the current combination when moving between these setups.
Switch through the hotbar
Have Hamon and Harvest available in your hotbar before using this sequence.
- Select Hamon in the hotbar to access its fighting-style abilities.
- Select Harvest in the hotbar to return to its Stand abilities.
- Read the updated ability labels before pressing a shared key. For example, E activates Sunlight Yellow Overdrive with Hamon on its own, while E activates Humanoid Formation with Harvest selected.
You can use Hamon and Harvest during the same fight. Selecting a hotbar option changes the active combat controls; retrieving a stored Stand is a separate action.
Fight groups and manage cooldowns
Choose attacks that reach the clustered enemies, then keep moving while those skills recover.
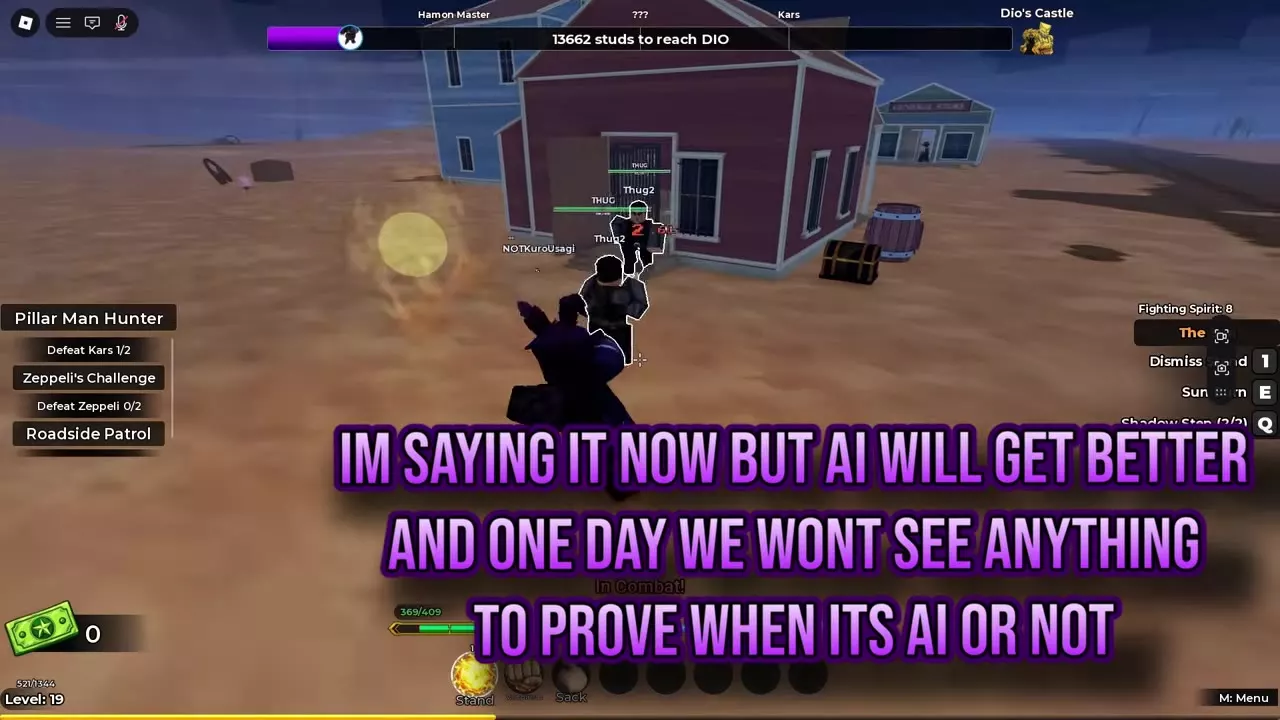
- The Sun against THUG groups near buildings: press E for Sun and continue attacking the group. These encounters include gun-wielding THUGs, so keep moving between attacks instead of remaining in one spot during cooldowns.
- Harvest against roadside and cave groups: press E for Humanoid Formation to bring Harvest into the fight against nearby enemies. This swarm approach works in encounters with RoadBandit near covered wagons and PillarMenWeak inside caves. Add Harvest Slide on Z and Swarm Rush on R after unlocking them.
- Vampire during Prison Break: use Vampire AOE Slash against clustered enemies, then attack the remaining targets. With Harvest and Vampire, the area slash uses X. Later mixed groups include Vampire, Hamon User and PillarMenWeak enemies; clear the survivors to finish the wave.
After activating a skill, watch its countdown before trying it again. Move to adjust your distance and protect your remaining health during the wait. An attack recovering from cooldown and an available movement charge are separate resources: one does not tell you whether the other is ready.
Movement charges and revival options
Shadow Step charges
With Shadow Step listed, press Q to use it. Shadow Step holds 2 charges. Its counter falls as you spend charges and recovers over time, with a recovery countdown.
At 2/2, both charges are available. At 0/2, wait for a charge to recover before using Shadow Step again. Keep a charge available when you need another movement action to pull away from an enemy.
After death
The YOU ARE DEAD screen provides two options:
- Return To Menu: choose the menu exit.
- Revive Yourself: use the self-revive option while its countdown is active. The timer starts at 2:00.
Skills, loadouts and DIO's clash
- Stands and abilities: compare Stand roles and find their skill progression and awakening details.
- Hamon and Vampire fighting styles: find fighting-style abilities, Hamon's unlock requirement and mastery progression.
- Choose a combat setup: choose a Stand and fighting style for close-range combos, group combat or movement.
- Win DIO's Barrage Clash: when TAP THE CIRCLES appears, click the circles before the countdown ends. Follow the castle guide for the clash and the surrounding fights.